Work in progress. Next step will be to brush it lightly with 90% alcohol and baby powder. Yes baby powder because it is supposed to give a bright mirror shining finishing touch a little bit like my grandma's skin.
These are called clusters, which are basically a diffuse vertex selection that will allow me to animate differently depending on the selected areas. The blend shapes are the different shapes that create a basic animation via interpolation of the selected vertexes positions. They are used mostly to show a director the looks of facial expressions without having to hire an animator. Moreover, these proto animations will be very useful when it comes to rigging.
This is a basic mesh done with the same technic on Maya and Mudbox but I've kept it simple in order to rig and animate it. Themesh is not too dense and quads only which will allow me to make clusters and blendshapes on it (basic facial animation using interpolation of several key poses).
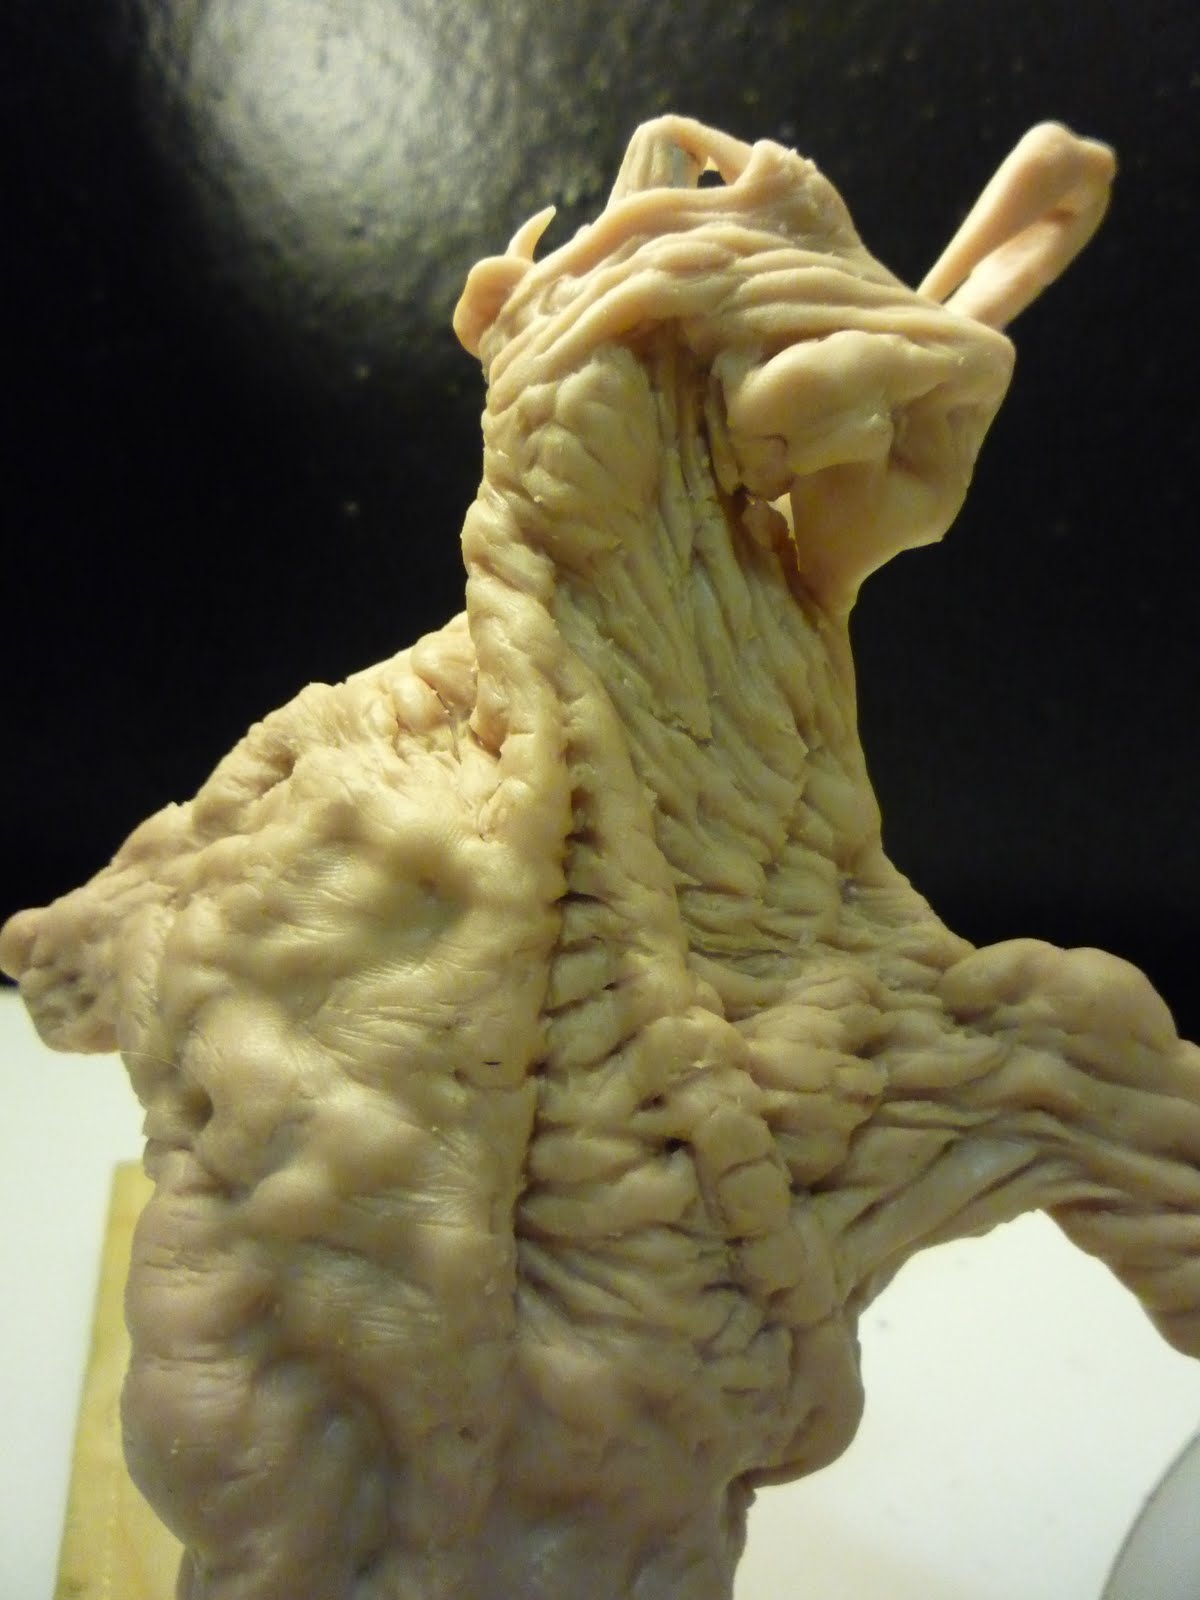
One another post on this model just to show you the sculpey structure underneath the epoxy. As you can see it doesn't need to be highly detailed. Just try to focus on the main shape and dynamics... make it organic!
Back to sculpting: today is sculpting Epoxy day! It allows to refine your sculpey base like nothing else, using little metallic carving tools. Don't forget to "cook" your sculpey base before applying the epoxy or you will loose all shapes and dynamic you've been working on. This type of material is as carcinogenic as it is awesome so first, be sure to wear gloves before mixing the two pastes. When done, you have exactly 10 to 15 minutes to shape the epoxy before it turns rock hard so my advice is to work on little sections one at a time. Humidify the little bit of epoxy with one drop of water before applying, it will considerably ease your work. The trick is to have a strong sculpey base with all the muscles and shapes you want to be revealed and the epoxy, in a thin layer will give an astonishing skin look that you will just have to riddle a bit to make it look perfect! Enjoy I personally had a great time using it!
This is another example of what you can achieve using Mudbox. The definition is much higher than needed on any usable model (for animation) but I took it as an exercise to practice my skills on digital modeling. It is based on a very early design I've made inspired from Moebius' work. This shows in my opinion how precise you can get and quite fast as the Maya/Mudbox workflow is really simple to use (approximately 30 minutes for the basic mesh on Maya and 1 hour of big fun on Mudbox!)
This is the first model I made on Maya,I did the troll in between because I was facing difficulties to work out the hands and feet with the same number of polys on this one. And I got too quickly on the details as I was discovering the most exciting opportunities of MudBox for the first time!
In order to avoid too much loops on the ankles and wrists (so I can connect them better) I had to model the hands and feet differently. I was taught the two techniques in two different classes. I guess every modeler has his own way to do. But Dan Platt (great CG artist on Trön Legacy and many other features!) recommends to have a proper mesh with only parallels.